
Let's plan our action and create last pose on frame 24. Both arrows should turn screen right.
By default (yours may differ) the curve in Graph Editor (GE) is linear.

Let's fix it and use that wonderful button with letter "A" in it. It's Autotangent. Now we have "Ease-in and Ease-out".

Looks like we can make our first playblast.
A good idea is not to start your shot from the first frame and end on the last. We need to add some holds.
Use Middle Mouse Button (MMB) for drag-and-drop in the time line to copy frame 1 to 6 and frame 24 to 18. use autotangent button to smooth the curves.

Playblast below:
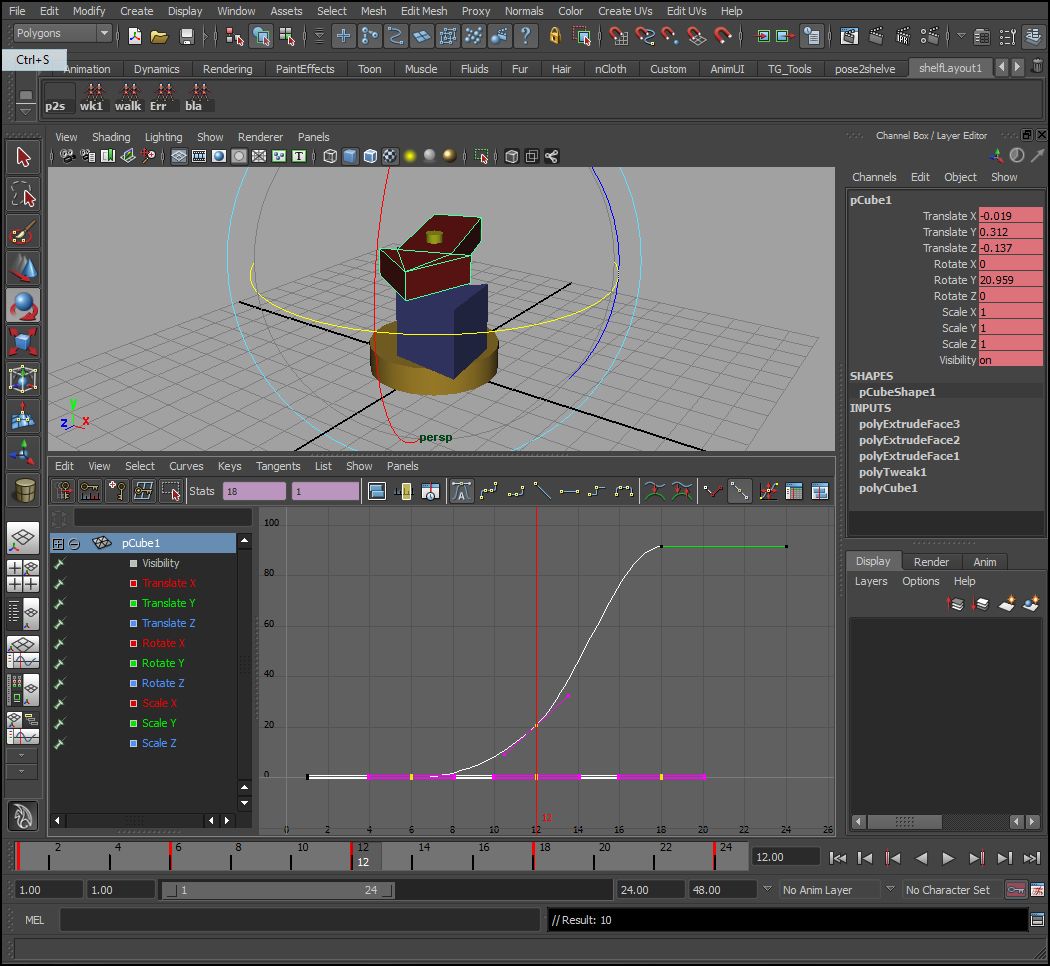
The keys we have are Extremes. Time to add Breakdowns. Right in the middle, frame 12.

Lets work with breakdown. For simplicity I'll leave Blue Arrow as is, select Red Arrow and drag the knot of it's Breakdown down a little. So now we have Red Arrow moving slower from frame 6 to 12, then picking up speed to frame 18.
The result is:
We produced Overlapping Action of the Red Arrow, but the holds are too rigid. Lets smooth them, using MMB drag-n-drop.

Final version looks like this
Your explantions are easy to understand in the simplest way technically and theory. Keep up that great talent.
ReplyDelete